Are you looking for an easy yet delicious treat that satisfies your craving for something sweet? Look no further than these classic Date Bars – made with simple ingredients and little fuss! Think buttery crust and a divinely sweet date filling with crumbly oat topping baked to perfection. Serve them as a snack or after-dinner treat (or both!)… and prepare yourself to be delighted!
Do you love old-fashioned dessert recipes? Try my Lemon Blueberry Bundt Cake or Old-Fashioned Lemon Bars for your next treat recipe!

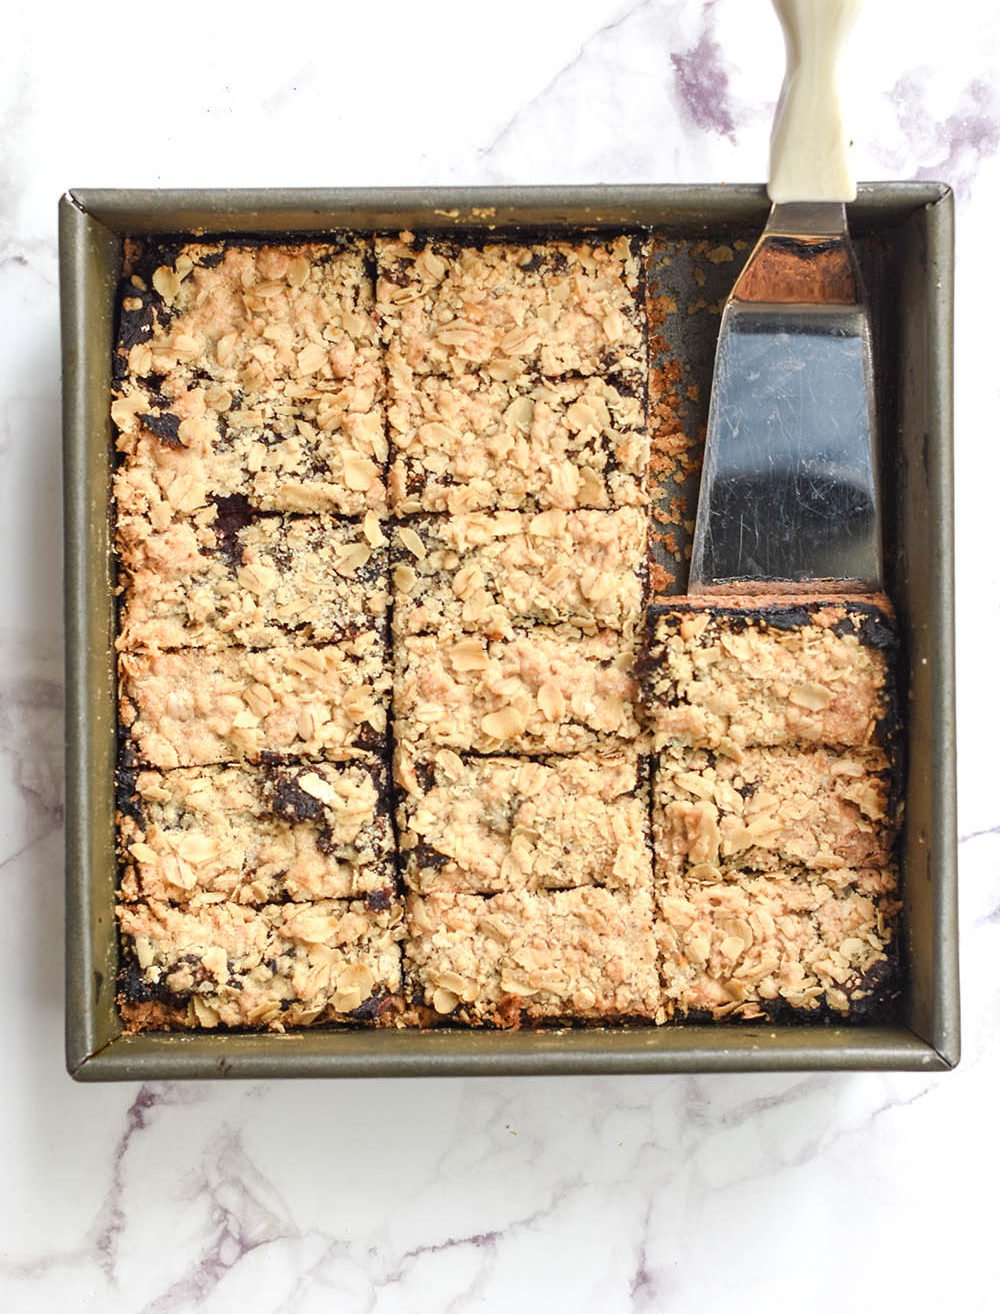
What is a date bar?
A date bar is made up of a chopped date filling spread over a delicious crust layer, topped with a crumble, and baked up. So good!
Other names for date bars?
You may have heard Date Bars called date squares or even matrimonial squares or matrimonial cakes. Supposedly, the two layers brought together by the date layer symbolize two lives coming together to form a union. But I’m not convinced that it’s not actually because these bars are so good you just might want to marry them.

Key Ingredients for Date Bars:
Really, these bars are a great example of simple flavors and great ingredients being treated with some love. There is a reason these bars have been showing up in homes for generations…so good!
- Medjool Dates. I prefer to use Medjool dates for these Date Bars. They are bigger, darker, and taste more caramel-y to me—and I’m a believer that more caramel-y is always more delicious. Yes, caramel-y is a word now. But you can use any kind of date and these Date Bars will still turn out great!
- Flour. This recipe works well with gluten-free flour!
- Sugar. You’ll use white sugar in the crust and brown sugar in the filling and crumble.
- Almond or Vanilla extract. I prefer using almond extract because it’s my family’s fave but use vanilla if that is what you have on hand.
- Butter. You’ll need softened butter for the crust and cold butter for the crumble. Be sure to use unsalted!
Where are the Walnuts?
Many of you will notice that my bars don’t have nuts in the topping like you usually find in classic recipes because my family doesn’t love nuts in desserts. If your family loves them I suggest trying some toasted chopped walnuts in the topping. Soo good!
Can you replace dates with prunes?
You can substitute dates with prunes or, even better, figs. But let’s be real…prune bars just don’t sound nearly as delicious as date bars.
How to Make Date Bars:


Make the Crust:
- Preheat the oven to 350 degrees and spray a 9-inch square pan with cooking spray.
- Cream the butter and sugar together, add the extract, and beat well.
- Add the flour and beat on low just until it starts to come together and then use a fork or your fingers to finish bringing it together. It will be crumbly.
- Press the mixture into the pan and press in well.
- Bake for 10 minutes or until set. Do not overbake.


Make the Filling:
- While the crust is baking, in a small, heavy saucepan bring the water to a boil.
- Add the sugar, nutmeg, and chopped dates.
- Bring it back to a boil and then turn the heat down on low to simmer, stirring often.
- When thickened and soft, for about 10 minutes, stir in the salt and remove from heat.
- Using a spatula, spread the filling on the baked crust.


Make the Topping:
- Mix the flour, sugar, and butter with a pastry cutter until nice and crumbly.
- Add the oats and, if using, walnuts.
- Press the topping on the date filling.
- Bake for 25 minutes or until golden brown.
- Cool for at least 10 minutes before removing from the pan. Use a buttered knife if you find the bars sticky and difficult to remove cleanly.
Tips for chopping whole dates:
Dates are sweet and delectable—but they are also just so darn sticky, and chopping them can be tricky! I suggest using a paring knife or serrated knife and using a slicing motion rather than chopping. Slice the date into strips and then line up the strips and slice them into smaller pieces.
You can use a pair of kitchen shears if you prefer, and you can coat your knife or shears in flour to try to cut down on the stickiness. (Pssst…if you’re in a place in life where you just can’t handle the thought of a sticky mess or really want a shortcut, you can buy chopped dates and use them instead.)
Should date bars be refrigerated?
You don’t have to refrigerate your date bars, but you can—and they will keep longer that way. They will last 3-4 days in an air-tight container at room temperature, but about a week if you put the container in the fridge.
Can you freeze date bars?
Yes, you can absolutely freeze date bars. They thaw quickly so they make a great treat for freezing.
These bars have been favorites of mine forever. I love the combo of sweet dates and buttery crust. I think these bars get a bad rap for being old-fashioned and “old”.
I made these on the NellieBellie Live on Facebook if you are interested in checking that out: The NellieBellie Kitchen LIVE: Old-Fashioned Date Bars


OLD-FASHIONED DATE BAR RECIPE
Ingredients
crust
- 1/2 cup butter softened
- 1/4 cup sugar
- 1/4 tsp almond extract or vanilla extract
- 1 cup flour gluten-free works great!
filling
- 8-12 oz Medjool dates chopped
- 1 cup water
- 3 tablespoons sugar
- 1/2 teaspoon nutmeg
- 1/4 teaspoon salt
topping
- 3/4 cup flour gluten-free works great!
- 1/4 cup brown sugar firmly packed
- 4 tablespoons butter cold
- 1/4 cup quick oatmeal
- 1/4 cup chopped walnuts, toasted optional
Instructions
Crust
- Preheat the oven to 350 degrees.
- Spray a 9 inch square pan
- Beat the butter and sugar together, add the extract and beat well.
- Add the flour and beat on low just until it starts to come together and then use a fork or your fingers to finish bringing it together. It will be crumbly.
- Press the dough into the pan and press in well.
- Bake for 10 minutes or until set. Do not overbake.
Filling
- Meanwhile, in a small, heavy saucepan bring the water to a boil.
- Add the sugar, nutmeg, and chopped dates.
- Bring it back to a boil and then turn the heat down on low to simmer, stirring often.
- When thickened and soft, about 10 minutes, stir in the salt and remove from heat.
- Spread the filling on the baked crust.
Topping
- Mix the flour, sugar, and butter with a pastry cutter until nice and crumbly.
- Add the oats and, if using, walnuts.
- Using a spatula, spread the topping on the date filling.
- Bake for 25 minutes or until golden brown.
- Cool for at least 10 minutes before removing from the pan. Use a buttered knife if you find the bars are sticky and difficult to remove cleanly.
Video
Nutrition

Recipe Tester Lisa says…
“These bars were really good! I had never cooked/bought dates before but the recipe was very straightforward. I was worried they would be too sweet but they were not. I would 100% make these again.”


Delicious, Prepared exactly as posted. Will make again. Reminds me of recipe
from the 60’s. Thank You for sharing.
Ok this was the best date bar I’ve ever tasted! I made it with almond extract and the walnuts. I thought maybe I needed to double the crumble but the ratio of filling to topping and crust was just right as is.
Make it you won’t be sorry!