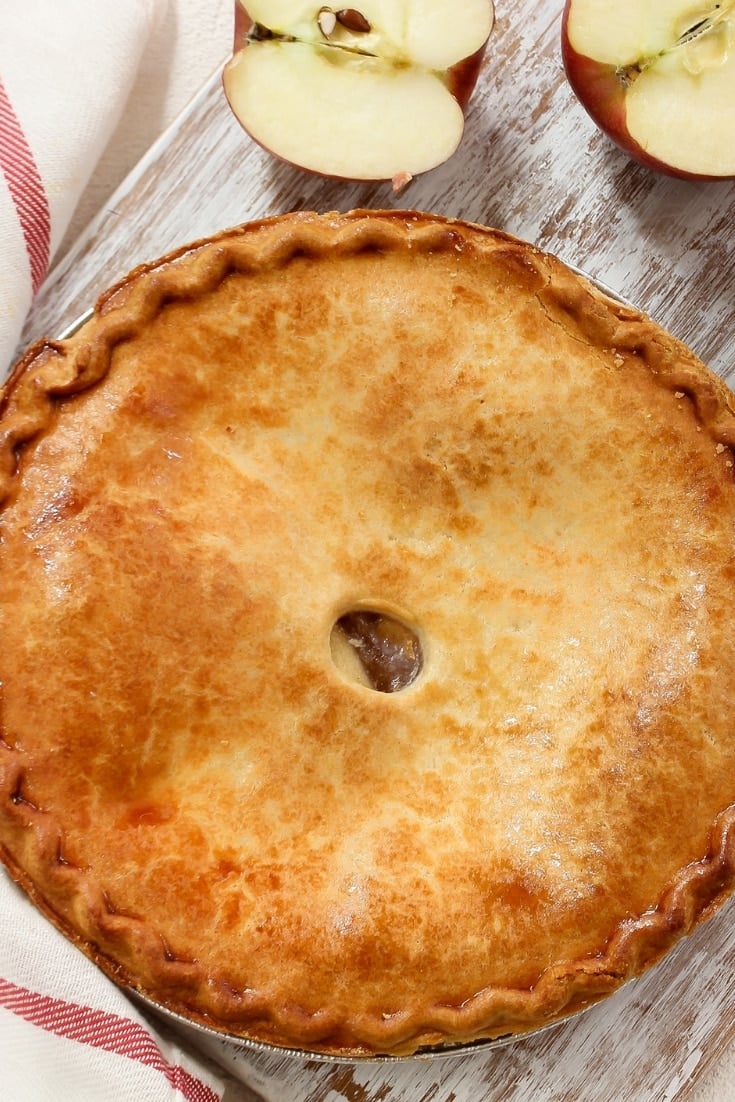
A flaky pie crust made in the food processor with butter and lard (or shortening). Truly the flakiest, most tender pie crust you’ll ever try!
So here’s what we’re doing. We’re making a lard and butter pie crust. Lard is not something that I tend to put in my pie crust because usually I share my pies and don’t know that everyone would appreciate lard. But the combo of Lard and butter is truly the best pie crust there is and makes for very tender and flaky crust.
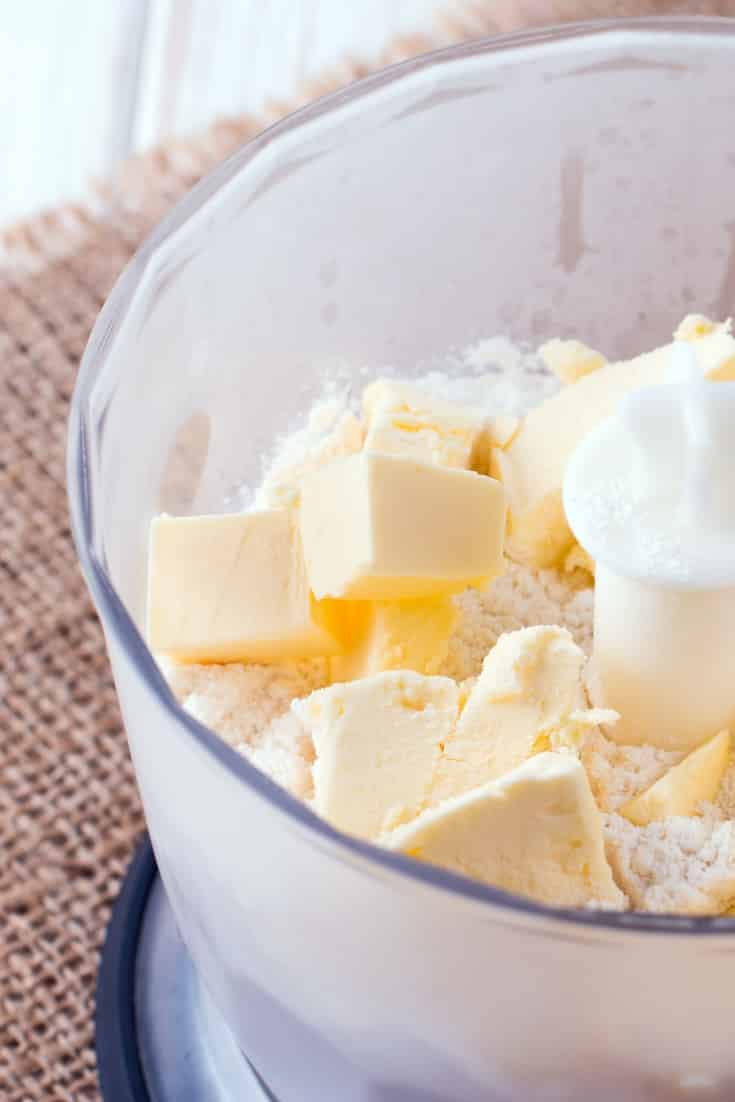
This recipe is quick, quick, quick if you have a food processor. The [easyazon_link identifier=”B00LBZOYAK” locale=”US”]food processor[/easyazon_link] does all the work for us so we don’t have to do anything until the very end.

The secret to the BEST pie crust is to use cold ingredients and keep the pie crust cold as long as you can.
Even your flour if you can, put all your ingredients in the fridge before you make your pie crust.
Here’s the thing, the salt in the pie crust is a tenderizer. You need it if you want a tender flaky crust. So don’t skip the salt. In fact, I’ve heard from several people that tell me they skip the salt in their recipe because they are trying to cut back. But, the salt or the vinegar is a necessary part of the recipe. Don’t skip it!

You need to have your butter and your lard, again we’re using both, as cold as you can manage, so if you can cube it and put it in the fridge, if you can possibly put them in a freezer for like 10 minutes, that’s your best shot.
The processor’s going to do all of the work of the mixing, but we only want to mix the crust until it’s like a coarse crumb. You do not want to overmix it or you will lose the tenderness of the crust.
Can I really use the food processor to do everything?
Mostly. But, you’ll want to dump it out at the very end of the mixing process…
Mix it just enough and just enough water that we don’t have any pockets of super wet that didn’t get mixed in but it just starts to come together. We don’t want it to be a fully mixed ball, yet. Just start to come together.
And then turn the mess out on to a floured surface to add a bit more water and mix it with our hands just until it comes together and forms a ball.
So yeah, a lot of people are going to be turned off about the lard and I totally get it. That’s totally okay.
If you are interested, here is a quick history of lard: A bit about Lard.
So if lard is not your thing, which I understand, you can use shortening, but the point is the mixture of the different kinds of fat is going to be what gives you that super tender, super flaky crust.
And here at NellieBellie, we’re all about the old vintage recipes, and lard is what they used for forever. This is one of the things my grandma used to do and I still do this recipe the old-school way but with a modern twist…the food processor :). She would be so jealous!
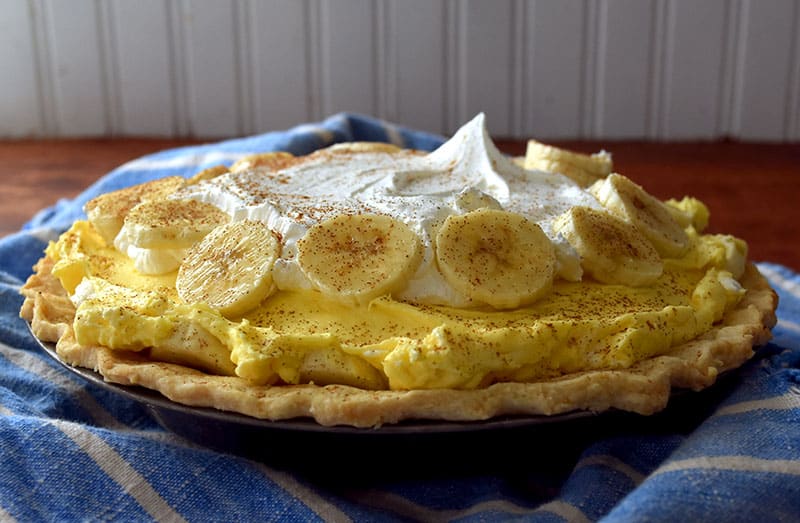
That, right there, is THE BEST Banana Cream Pie, by the way. Made with this crust. So good!
Now, you’ll want to split your crust into two parts and roll them out just a bit, into a small disc. Wrap up the disc with saran wrap and put it in the fridge for at least an hour before rolling it out.
When you go to roll it out, let it come just up in temp enough that you can roll it. Remember to roll it from the center out and as little as possible. Put the rolled crust into a pie plate and put it back into the fridge until you are ready to fill it. Again, the super cold ingredients are necessary.
When it comes time to bake your pie, make sure your oven is preheated before you start it. Again, keep that pie crust as cold as possible before it hits the oven
This pie crust is so simple, tender, flaky, and old-fashioned…and now, with the use of the food processor, it’s simply the best!
Tips for making the perfect pie crusts:
- Make sure the butter or fat you are using is very cold.
You may even want to freeze it for 10-15 minutes before starting. The colder the fat in your dough is when it hits the oven, the flakier your crust will be. Keep your ingredients as cold as possible. Heck, I even put my flour into the fridge! And then, even after rolling it out and putting it in the pan, put it back into the fridge before filling. - Keeping larger pieces of fat in your flour mixture is OK as that will allow for flakiness.
It’s all about those pockets of fat, isn’t it? Those pockets will develop perfect little pockets of air and flaky bits when they hit the hot oven. But ONLY if they are cold. Seeing little bits of fat in our dough is the ultimate. Leave them alone! - Use only enough water that is called for in the recipe and that allows the dough to hold together when pinched with your fingers.
Too much water will make your dough tough and lose it’s tender flaky magic. Use just enough, no more. - Before rolling the dough out, shape it into a disk at less than 1 inch thick as this will help make it easier to roll out.
I will often mix up my dough and then shape it into a disk before storing it in the fridge. Then, I simply thaw it enough to roll out to the needed size. Because it is already in a disk shape and partly rolled, I don’t have to roll it as much. That keeps it cold and helps me not over-work the dough. - Chill the dough before rolling it out.
Yep, have you gotten the idea that you want to keep it cold? Chilling the dough before rolling it out will also help that your crust doesn’t become overworked and chewy. - Rotate the dough 30 degrees at a time to make sure it not sticking.
Have you seen the way they throw pizza dough in the air as they stretch it? You want to do something similar, but on the counter. Roll it a bit, turn it, roll it a bit, turn it. This keeps it from sticking. - Roll out and away from yourself keeping even pressure the whole time.
Go from the middle to the outside, away from you. Turn the dough and do it again. Keep the pressure even. - Don’t force or push the dough into the corners of the pan.
Just let it “fall” or it will go back its original shape during baking. When you put the filling on the top of the crust, it will push the crust into the nooks and crannies. P.S. trim the edges off your crust AFTER you filled it. - Chill before filling the crust so it keeps its shape during baking and the fat is super cold before hitting the oven.
Put the crust into the pan and pop it back into the fridge until you are ready to fill. - Bake to fully brown, not just golden brown.
That flaky crust won’t happen if you under-bake it. Go on the side of over-baked, please. Nice and brown is what you are aiming for! - Add an egg yolk even if the recipe doesn’t call for it to help keep the dough pliable.
ONLY if you haven’t yet found your favorite pie crust. If you have, leave well enough alone. If not, try adding an egg yolk to one that is pretty close. It can make a difference! - Add an acid (1 tablespoon of vinegar or lemon juice) to keep the crust more tender, if there isn’t one in the recipe.
This is actually really important! You need that acid to help with the scienc-y part of pie crusts. I couldn’t tell you the exact reasons and which ingredient interacts with the acid. But, I DO know that my Grandma swore by lemon juice. I do too.</li - Try to use your fingertips to handle the dough rather than the palm of your hands.
In fact, try to touch your pie crust as little as possible. The warmth from your fingers is not what we are after. Use your fingers only as much as necessary. - A heat-resistant glass pie pan is recommended for a flakier crust.
I’ll be honest, I’m still using an aluminum pan and love the way the porcelain pie pans look. But, if you are going out to buy the BEST pie pan…a glass one is the one you want. - Cover the edges with 2-3 inch wide strips of foil to keep the edges from getting overly brown.
Those pie crust edges will be the reason you pull your pie out before the crust is fully baked. You’ll see them get all toasty brown and freak out about them burning. Cover them so they won’t overbake and then you can leave the pie in as long as it needs. - To make your pie shine, brush with an egg wash before baking.
This is truly magical. Milk will often do the trick, as well. But, there is nothing like a good egg wash on top of your pie to make it look absolutely amazing! You’ll be hooked. - To ensure your oven is hot enough, start baking at 425 then reduce after 30 minutes.
Don’t put your pie in until the oven is preheated. You do NOT want to put your pie into an oven that is still warming up. That will completely undo all of the work you did keeping it cold until it hit the oven. Get that oven good and hot so when the pie hits the oven, your crust immediately does its thing. - Use a lot of flour to roll out your dough to keep it from sticking but be sure to brush the excess of before baking.
I have a pastry brush just for the purpose of brushing off flour if needed. Although I need to use it to roll out my dough, I don’t want it to go with into the oven and mess up my fat to flour ratio. So, I brush off as much as I can.
The ultimate source for perfect pie crusts:
This, in my opinion, is the ultimate guide for perfect pie crusts and there is nothing I can improve one. So, head over to check out the Ultimate Tips… https://www.kingarthurflour.com/guides/pie-crust/

Grandma’s BEST Pie Crust
Ingredients
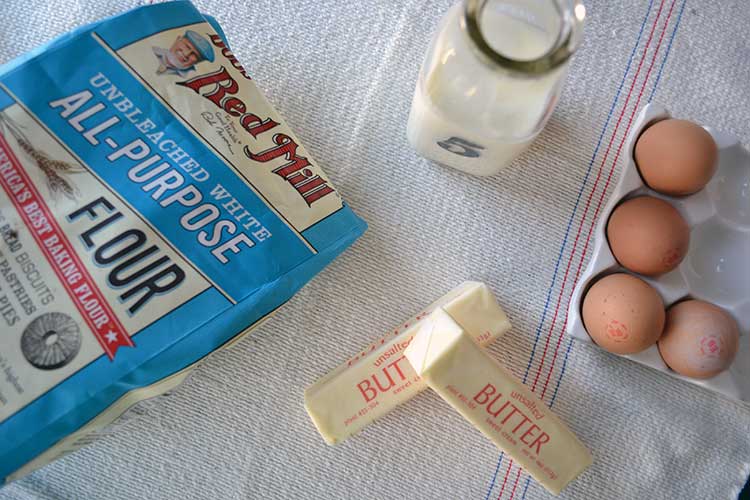
- 2 1/2 cups all purpose flour
- 1 teaspoon sugar
- 1 teaspoon salt
- 1/2 cup chilled unsalted butter cut into cubes
- 1/2 cup chilled lard cut into cubes
- 5 tablespoons ice water I usually end up with about 6 tablespoons
Instructions
- Blend flour, sugar, and salt in processor just until processed.
- Pulse the butter and lard in, blend until mixture resembles coarse crumbles.
- Add 5 tablespoons ice water and pulse a few times until dough begins to clump together. Do not overwork. When it starts to come away from the edges, dump the dough on to a floured surface.
- Add another tablespoon of ice water (I like to use cold vinegar) and, using your hands, mix the water into the dough just until it forms a ball. Add additional water until you get the ball shape needed.
- Divide dough in half and form each half into a disc. Wrap the disc in plastic wrap and put it into the fridge for at least an hour.
- If necessary, soften slightly at room temperature before rolling out.
- I bake this at 375 degrees for about 15 minutes. But keep an eye on it, every oven is a bit different.
Video
Other pie crusts to try:


This is a good recipe (I’ve used organic shortening instead of lard)and whether you use a food processor or a pastry blender, it’s important to remember to not over mix. You don’t want to activate the gluten molecules because that will make it tough.
And I’ll just say there’s no way this is better on a banana cream pie than a homemade graham cracker crust. No way. :)
Hi there! You are so right that the recipe ingredients don’t state an acid. However, in the instructions you’ll see that I mention my preference for adding vinegar rather than ice water. But even if you don’t…this recipe is still amazing.
I don’t get it — the author says it’s important to include an acid in a pie dough recipe, but then she doesn’t include one in this recipe. Confusing!
I’m so glad you found it helpful. I agree..it’s soooo good!
This is genuinely the best pie crust I have ever made! Probably will never use a different recipe again. The combination of lard and butter makes this both flaky and flavourful. I don’t use a food processor, just a pastry blender, but it still works. Thank you for this recipe!
Annoying. At least edit out the unneeded outside noise. I love dogs, but not ones who interrupt when I’m doing something.