I’m pretty sure that for every item I cross off my to-do list, two or three more magically appear. And from what I’m hearing from you all, I’m not the only one with these sneaky little to-do list elves running around. I think we could all do with some shortcuts or hacks or timesavers or whatever you want to call them. Enter soups.
Here’s the thing about soups–they can save you time in two different ways. That’s because soups are often simple and quick to throw together on the first go around. Then, most soups are easy to store or freeze and reheat for another meal later! Even better, many soups are made with very affordable ingredients. Win, win, win.
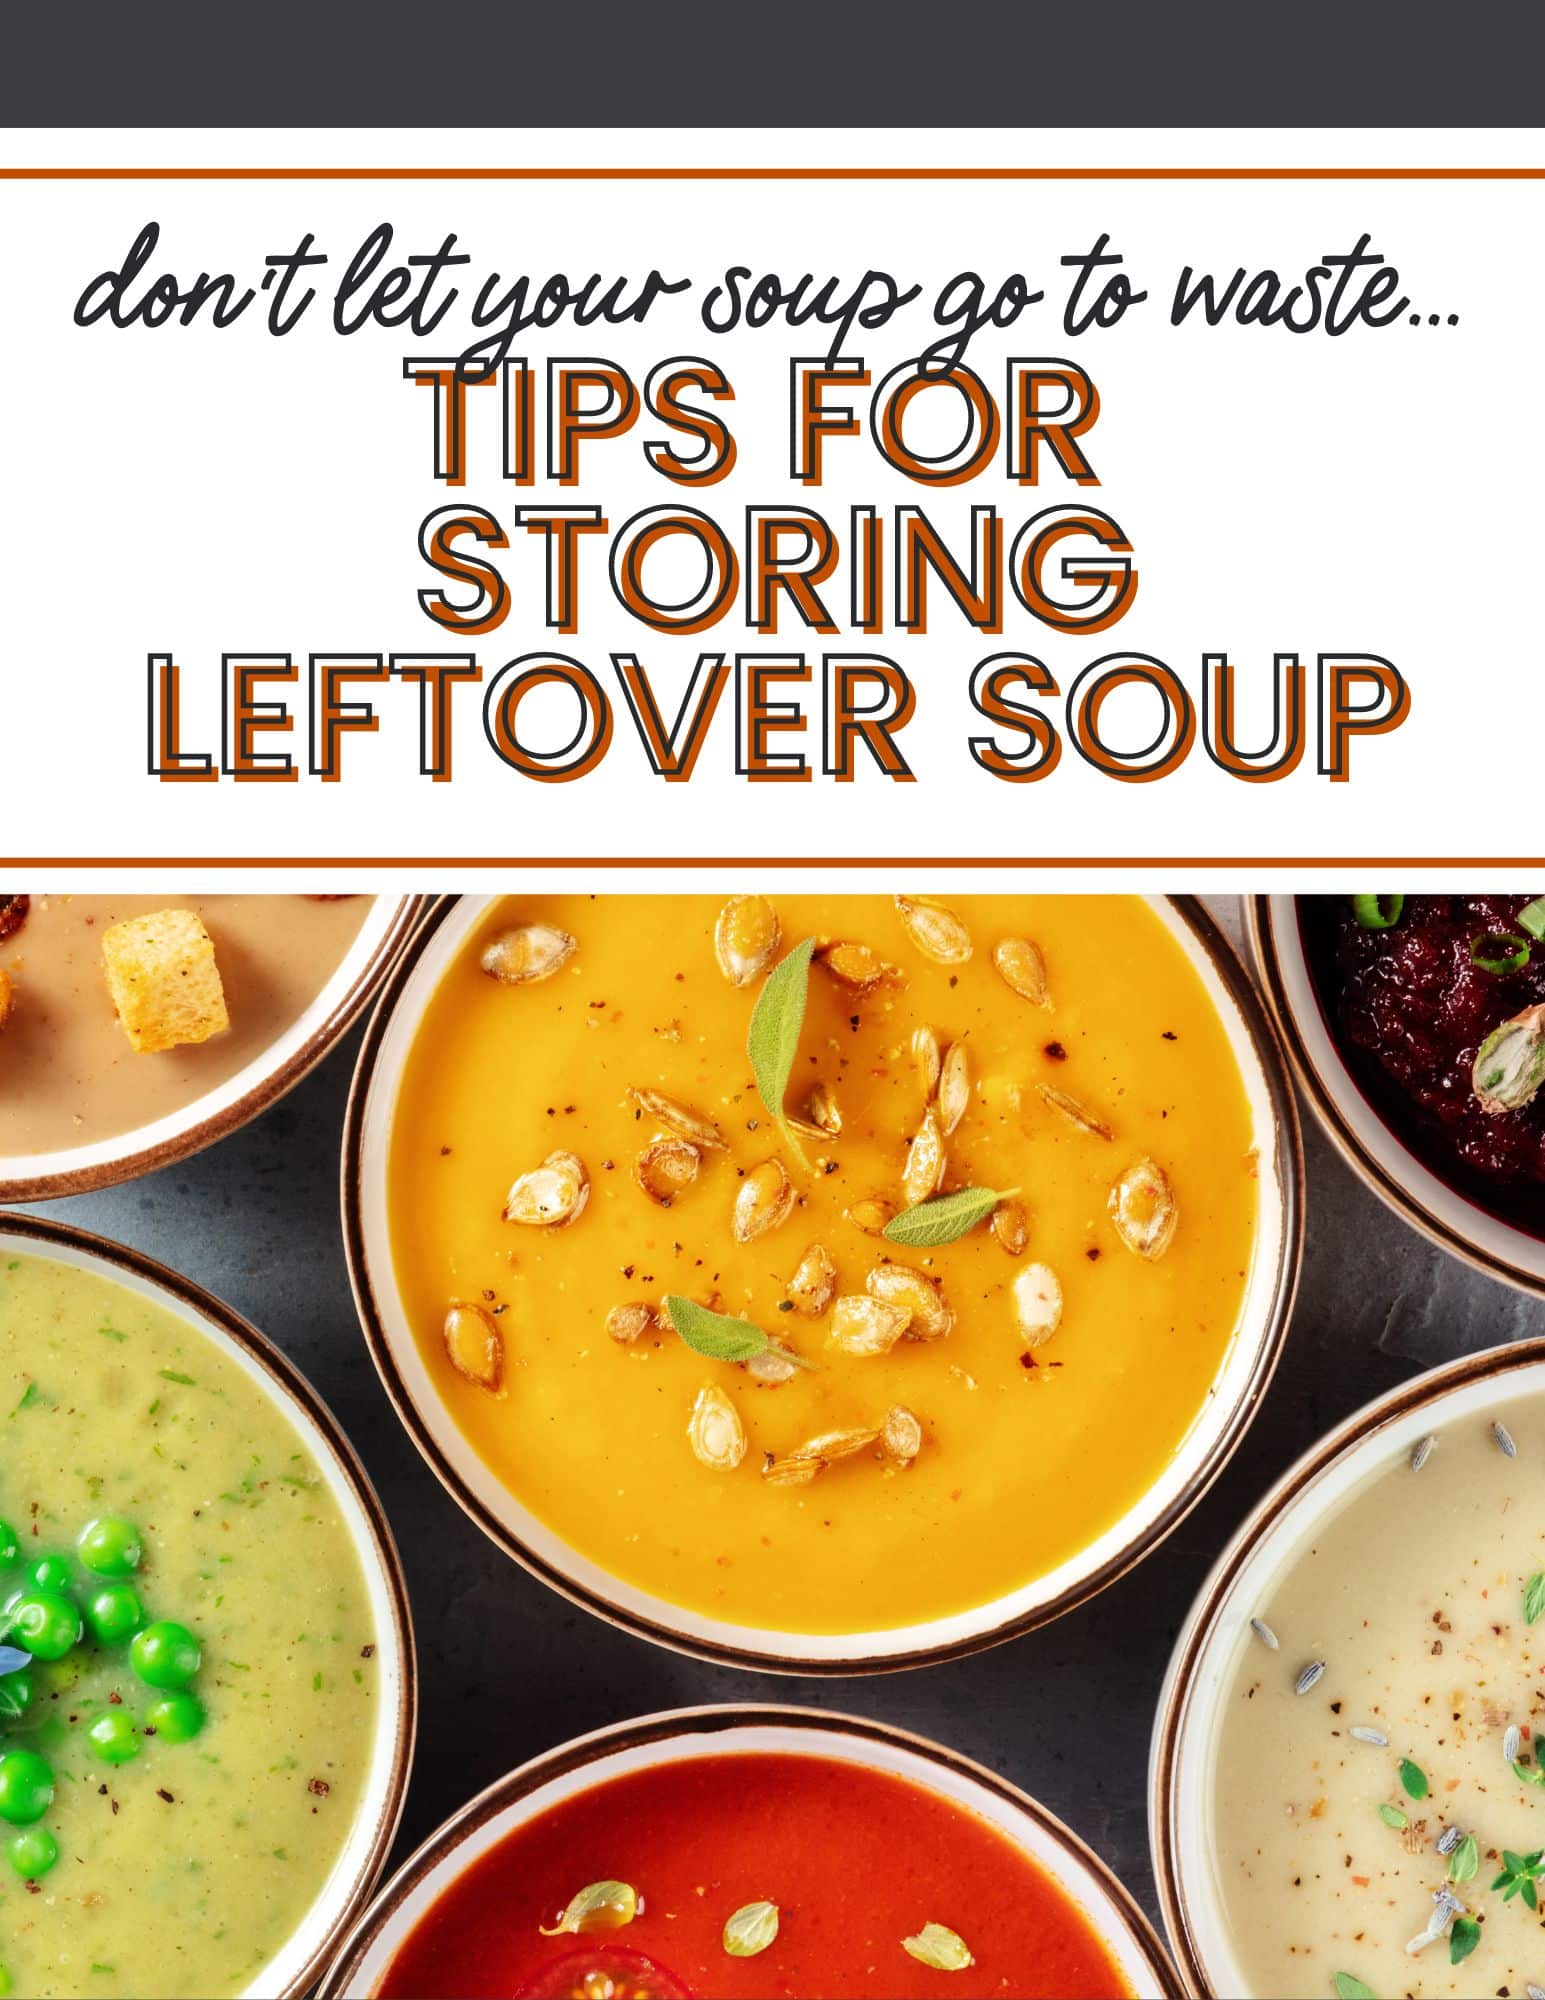
There are several techniques for freezing and storing soups that will help keep your soup fresh and tasty. I’ve got a lot of tips, info, and resources to make your soup storage better…
Storing soups without freezing
If you have a little extra time on one day but know you’ll be scrambling later in the week, cook up some soup and save it for that day. Or, serve it for dinner fresh that first night and again as leftovers the next. (Some soups are even more delicious a few days later.) Here’s what you need to know for storing soup.
- Allow the soup to cool to under 40 degrees as quickly as possible (don’t listen to the old wives’ advice of bringing your soup to room temperature!) so you don’t give bacteria time to develop.
- Store the cooled soup in an airtight container (see the great container options below) in the refrigerator.
- Use the soup within 4 days to ensure food safety. (I don’t like to store it for more than 2 days if it contains seafood, though.)
- Reheat thoroughly. When reheating the soup, make sure to heat it to a temperature of 165°F to kill any bacteria that may have developed. (See below for more tips!)
- Smile and pat yourself on the back for saving time, then dig in.

Only for the NellieBellie Email Community…30+ Soup recipes, printable spice mixes, Soup E-Cookbook, and much more!
Freezing leftover soups
I love freezing soups. It’s an easy way to prep in advance when I know life’s about to get crazy. It’s an easy way to have some quick lunches on hand. It’s also an easy way to cut down on food waste. You’re gonna love it. Maybe not as much as I do, but that’s ok. We can still be friends.
Try one of these 80 Soup Recipes that are Great for Freezing from Taste of Home.
- Cool the soup completely! Allow the soup to cool before freezing to prevent the formation of ice crystals from freezing hot soup. You don’t want watery soup later.
- Portion the soup. Use airtight containers or freezer bags to portion the soup into individual servings. (See below for some tips!)
- Label and date the containers. Once it’s frozen, it can be hard to tell what’s in that little freezer bag. Do yourself a favor and write the type of soup along with the date it was made. No mystery soup in this house!
- Thaw before reheating. You can thaw your soup in the fridge, in a bowl or sink of cool water, or in the microwave. Choose the one that works for you!

Soups that don’t freeze as well (and tips to help):
- Soups that are milk or cream based. The dairy in the soup will separate and get grainy when frozen and then thawed. Try freezing the soup without the dairy and adding it when you reheat and serve.
- Potato-based soups. Potatoes get a mealy texture when they are frozen and thawed. Skip the russet potatoes and use the firmer potatoes like Yukon Gold’s, instead.
- Fresh greens in soups. Fresh greens like spinach or kale get mushy when they are frozen and then thawed. If that bothers you, try adding the greens to the pot when you reheat the soup.
- Pasta Soups. For the same reason as fresh greens…that pasta can get mushy. You can cook your pasta al dente, add it fresh to the soup when reheated, or … just eat it anyway :).

Freezer container options and tips
There isn’t one right way to freeze soup and store it. The right way for you is the one you’re most likely to use and stick with. Here are some options to consider.
- Plastic freezer bags. If you’re not sure you want to buy any special containers, just use freezer-safe plastic bags to store the soup. Squeeze out any excess air before sealing because nobody likes freezer burn. (I use a straw to suck out extra air just to get it all ;)). Freeze flat, then store the bags upright all lined up like books. It looks fun and is a great way to save space.
- Plastic freezer containers. Plastic freezer containers with airtight lids are a great reusable option for storing soup. Make sure to leave enough headroom in the containers to allow for expansion due to freezing. Depending on your containers, you may need to grab some masking tape and a sharpie to do your labeling.
I like the classic Rubbermaid set. - Glass mason jars. Another reusable option is to use freezer-safe (straight shoulder) glass mason jars with airtight lids. Again, leave enough headroom–at least an inch–in the jars to allow for expansion. Depending on the size of your jars, 1-2 cups of soup should be sufficient. Once you have filled all your jars, place them in the freezer until they are completely frozen solid.
I prefer the wide-mouth Ball Glass 16oz jars. We use them for everything. - Silicone freezer bags. Silicone freezer bags are a great option for freezing soup–they’re flexible and won’t break (like rigid containers can) but they still provide a good seal to prevent freezer burn. They’re also reusable.
I like these from EverSpring. - Silicone muffin pans or ice cube trays. This might sound a little weird, but hear me out. “Individual portion” can mean different things to different people or even to the same person on different days.
You can freeze your soup in tiny portions using a muffin pan or ice cube tray (silicone is best for this). Once frozen, pop out your little soup cubes and move them to another container, like a plastic freezer bag. When you’re ready to reheat, pull out however many cubes you need and put the rest back in the fridge.
I like this BPA free version of silicone pans.
*Do not use metal containers! Metal can react with acidic ingredients in the soup and affect the taste. Bleh.
*Don’t over-fill containers! Remember that soups will expand while freezing and can break the containers if they are filled to the brim.

Reheating your soup
Again, there are lots of options when it comes to reheating. Are you sensing a theme? This is another great thing about freezing soups! There are so many ways to do it, one is bound to fit your needs. Once your soup is thawed (see above), you’re ready to reheat it.
- Stovetop. Place the soup in a saucepan over medium heat, stirring occasionally, until heated through (to 165℉). I prefer this option when I’m reheating for multiple people. It ends up being just as fast as using the microwave.
- Microwave. Transfer the soup to a microwave-safe container and heat in the microwave on high, stirring every 30 seconds, until heated through. This is a great option if you’re reheating for just one or two people. It’s also a kid-friendly choice.
- Slow Cooker. Place the soup in a slow cooker on low heat and let it heat for 2-3 hours, stirring occasionally until heated through. This is probably best if reheating multiple servings unless you’re using a tiny slow cooker for one.
- Oven. Soup in the oven? I know it sounds weird, but trust me–it works. Place the soup in an oven-safe dish and cover it with aluminum foil (so you don’t lose all the liquid). Bake at 350°F for 30-45 minutes, stirring occasionally until heated through. This is a great option if you’re going to be baking some bread or something to go with your soup.
*It’s important to reheat soups evenly and gently to avoid overcooking and altering the texture and flavor of the soup. That’s why you have to stir it during reheating.
*Avoid reheating soups that contain dairy multiple times because it can make the dairy curdle. Nobody likes that.
Frozen soups are an excellent way to have home-cooked meals ready quickly without sacrificing quality or taste. With these tips on freezing and storing soups in mind, busy people everywhere (that’s you) can now make large batches ahead of time knowing their delicious concoctions will last much longer than if stored conventionally.
So do yourself a favor and get ahead of those pesky to-do list elves. Start prepping your soup today and save yourself some time tomorrow! (or next week, or next month…)
Only for the NellieBellie Email Community…30+ Soup recipes, printable spice mixes, Soup E-Cookbook, and much more!


