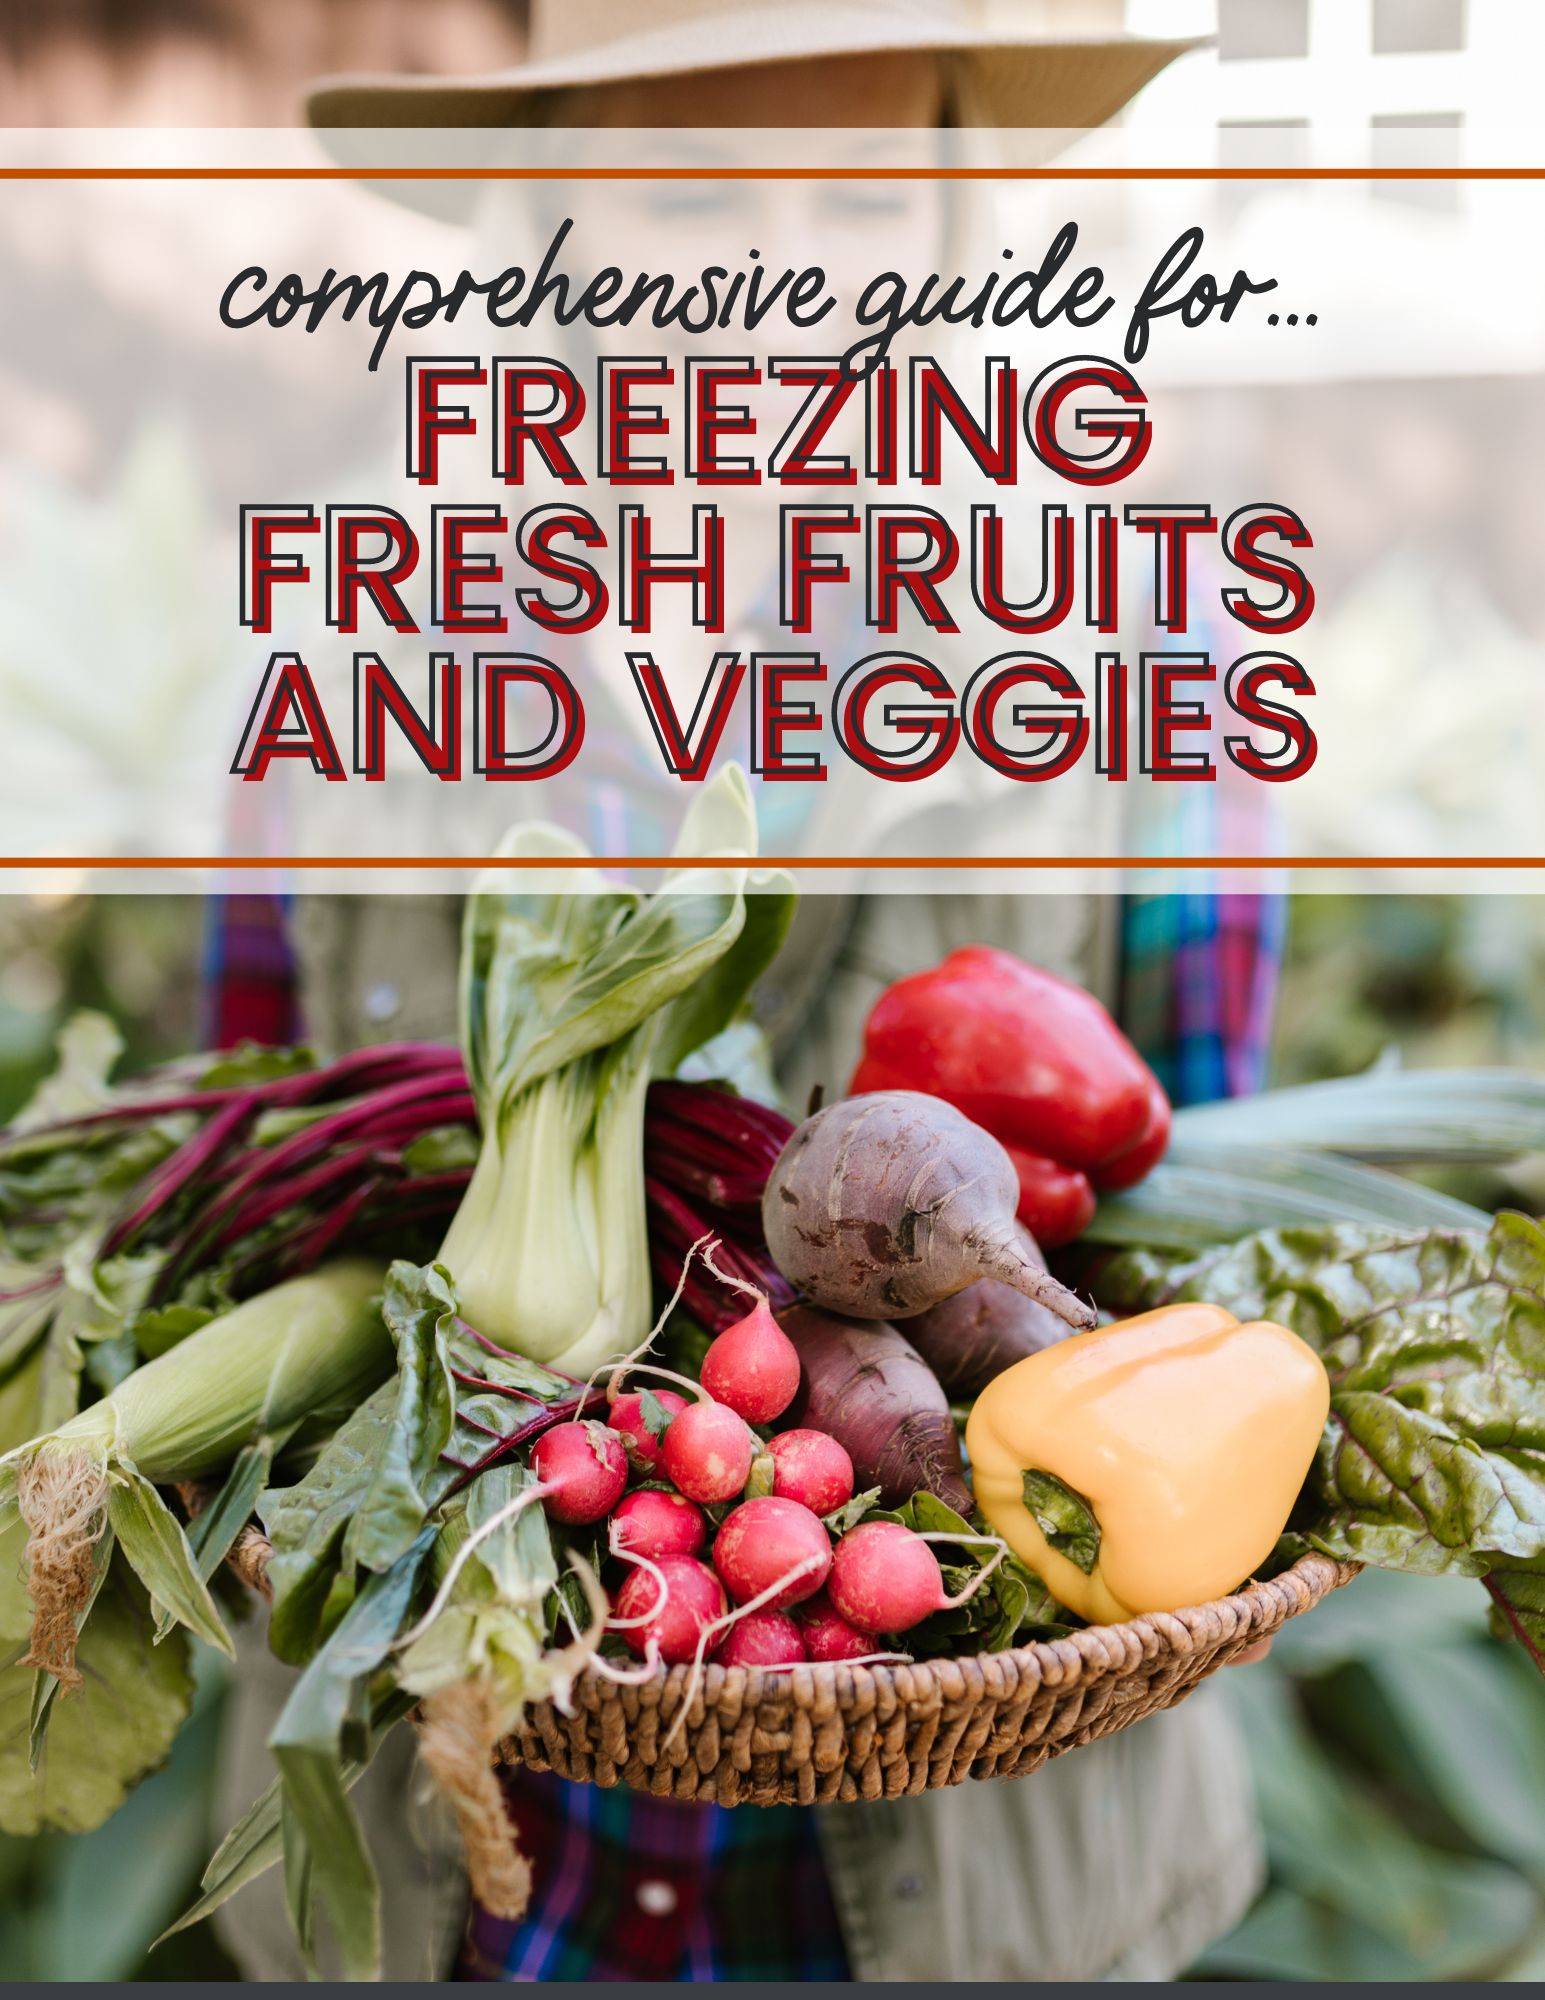
For years, I shied away from frozen fruit and vegetables because somewhere along the way, I heard a rumor that they lacked nutrients and tasted terrible. I’ve been doing a fair bit of experimenting on my own, and I’m happy to report back that learning how to freeze fruit and vegetables has been a (delicious) game changer thanks to finally learning how to blanch and some quick, easy tricks for freezing fresh produce.
Table of contents
Why you should be Freezing fruits & veggies:
- Preserves nutrients: Freezing fruits and vegetables can help maintain their nutritional value. A lot of fruits and vegetables lose some nutrients when cooked or stored at room temperature for an extended period. Freezing can help lock in some nutrients and prevent them from degrading.
- Reduces food waste: Freezing is an excellent way to reduce food waste. If you have extra fruits and vegetables you cannot use before they go bad, freezing them is a perfect way to save them for later. You can also freeze fruits and vegetables when they are in season, so you can enjoy them all year round.
- Saves time: Freezing fruits and vegetables can save you time in the kitchen. If you freeze fruits and veggies ahead of time, you can save time during meal prep. You can also freeze meals beforehand to eat something quick and easy on busy days.
- Convenient and cost-effective: Freezing fruits and veggies is a convenient and cost-effective way to enjoy your favorite produce year-round, making it easy to use your favorite fruits and veggies whenever you want.
Quick Start Tips for Freezing Fruit and Vegetables
- Freeze fruits and vegetables when they are ripe and at the height of freshness.
- After harvesting or buying, frozen fruit and vegetables will need to be frozen quickly
- Use heavy-duty freezer bags and store them flat
- Fill your container as much as possible, then remove all the air you can for better texture and taste (check out these nifty ziplock bag holders—I’m obsessed with them!)
- An easy way to remove air is with a straw. Insert the straw into the bag and seal the straw in the bag. Suck the air out and carefully remove the straw, and seal.

How to Blanch Fruit and Veggies
The best frozen fruit and vegetables all have one nifty trick to them – they have been through a blanch. Need help figuring out what that means? You aren’t alone. The blanch definition says the word means to take out the color or make something pale. However, why this term was used for freezing fruit and vegetables is a mystery since taking out the color is precisely the opposite of what we want. In kitchen-speak, the blanch definition is more about preserving the color, flavor, and texture of a fruit or vegetable you want to freeze. To blanch something is easy—here’s how it’s done:
Why do you have to blanch vegetables before freezing?
Blanching a fruit or vegetable is the best way to retain texture, color, and flavor that can be easily lost during freezing. This is because blanching stops any enzyme action while cleaning the food of impurities or bacteria.
Can you freeze fresh vegetables without blanching?
You can, but that doesn’t mean you should. Blanching makes it easier for vegetables and fruits to retain their flavor and texture. You must blanch most vegetables and fruits to freeze for the best results. However, some fruits and vegetables, including berries, bananas, and several vegetables, do not require blanching.
- Prepare the items you’ll need, such as a good knife, a stock pot with water, a slotted spoon, and a large bowl of ice water.
- Bring the water in the pot to a boil. Some people prefer to add a pinch of salt, while others do not. I haven’t found that it makes a significant difference either way.
- Cut your fruit and vegetables while waiting for the water to boil. It is best to blanch when produce is freshly cut so they do not have as much time to oxidize.
- Put your fruit or vegetable into the boiling water. Do one type or produce at a time and do not overload or cover the pot.
- You want to check the item every 30 seconds to 1 minute to ensure the doneness is how you like it.
Tip: The National Center for Home Food Preservation has a handy chart for blanching times of various produce. - Once it is, use the slotted spoon to scoop the veggies and plunge them into the water with ice.
- After about 30 seconds or so, when the vegetable is entirely cool, complete the blanching process. Use the slotted spoon to scoop out the items and let them dry on lined paper towels before freezing.

How to Freeze Fruits
When in season, there is nothing better than a fresh peach, a juicy orange, or a sweet-tart berry. Don’t settle for the out-of-season fruit you find at the grocery store—get the real deal and freeze them to enjoy year-round. For the best texture, eat frozen fruit before it is totally dethawed. What are the Best Fruits for Freezing? Nearly every fruit can freeze well. Whether you want to make a smoothie, baked goods, jams, or eat the fruit as is, here is how to freeze some of the most popular fruits, including:
- Apples
- Berries, including blackberries, blueberries, raspberries, and strawberries
- Peaches
- Bananas
- Lemons
- Avocados
- Tomatoes (yes, they are both fruits!)
Beyond what you find here (which is a lot!) about freezing fruit, Food Network has more tips and info if you need more.
How to Freeze Apples
There are a couple of good ways you can freeze apples.
- One of the best ways to freeze apples is to make them into pies, bars, or cobblers, then freeze them before baking. Once you are ready to consume, dethaw and bake them as usual.
- Another easy method for freezing apples is to freeze them in slices. Core and peel the apple, then freeze on a baking sheet lined with parchment paper. Once they are solid, add them to freezer bags, squeeze the air out, seal, and label. Frozen apple slices are not a good texture for eating, but they can be used for jams, pie fillings, smoothies, applesauce, and apple butter.
Recipes great for frozen apples: Easy Applesauce Oatmeal Muffins Recipe (one bowl!), Apple Streusel Coffee Cake Recipe, Super-Moist Apple Almond Cake – perfect for coffee or tea!, easy Homemade Applesauce Recipe (stovetop, crockpot, instant pot recipes).
How to Freeze Berries:
These are what I have found to be the best berries for freezing purposes:
- Blueberries: Blueberries are an excellent berry to freeze. They freeze well, maintain their texture, and can be used in smoothies, baked goods, or as a topping for oatmeal or yogurt.
- Strawberries: Strawberries can also be frozen but become mushy when thawed. They are best used for smoothies, sauces, or baking.
- Raspberries: Raspberries can be frozen but are quite delicate, so they can become soft and lose shape when thawed. They are best used for smoothies, sauces, or baking.
- Blackberries: Blackberries freeze well and maintain their texture when thawed. They are perfect for smoothies, baked goods, or as a topping for oatmeal or yogurt.
- Cranberries can be frozen and are excellent for making sauces, jams, or relishes.
Recipes great for frozen berries: Classic Blueberry Coffee Cake Recipe, Walnut & Cranberry Banana Bread Recipe, The BEST Lemon Blueberry Bundt Cake, Blueberry Lemon Poppyseed Muffins.
How to Freeze Blueberries
Freezing blueberries is simple.
- Take fresh berries, wash them, and then dry them well. For the best taste possible, blueberries should be completely dry before freezing.
- Once dry, spread them out on a baking tray, freeze them, and then scoop them into freezer bags. Make sure to squeeze all the air out!
Blueberries will have the best flavor and taste during the first 10 months.
How to Freeze Blackberries and Raspberries
To freeze these berries, follow the instructions above for blueberries. It’s simple!
How to Freeze Strawberries
Before freezing strawberries, you have a little bit of prep work.
- Choose the fully ripe, dark red berries, then wash them and dry them well. Once they are dry, hull the strawberries and decide if you want to freeze them plain or sugared.
- For plain (without added sugar) berries, you can leave them whole or slice them before freezing. I have a powerful blender, so I generally leave them unchanged unless they are massive, then they get a quick chop. Then, spread them out on a baking tray and freeze them before transferring them into a labeled freezer bag with all the air squeezed out.
- To freeze strawberries with added sugar, you must place halved berries in a bowl and add a half cup of sugar per quart of berries. Stir it all together until the sugar dissolves, then transfer to a freezer-safe container and freeze.
How to Freeze Peaches
Peaches freeze great, but a few tricks remain to retain that fantastic flavor.
–> If you have difficulty peeling a peach, here’s a neat trick you can use. Cut a small X into the bottom of each peach, then do a quick blanch. Add the peach to boiling water for about 30 seconds, then drop it into a bowl of ice water. The skin should slide right off.
- Wash and peel your peach, then cut into slices.
- Toss the slices with about 1 tbsp of lemon juice for every dozen peaches and 1/2 teaspoon of sugar for each peach added. The lemon and sugar will preserve that peach flavor and help prevent browning.
- Once your peaches are skinned, tossed, and sliced, lay each slice on a baking sheet, freeze, and transfer to a freezer container—don’t forget to squeeze all the air out of the bag first!
How to Freeze Banana
Bananas are one of my favorite fruits to freeze.
- If you want to use frozen banana slices in smoothies, peel the bananas, cut them into slices, put them in a freezer-safe bag, and then plop them into your smoothie or shake them when you need. This will significantly reduce the ice needed to make your smoothie cold.
- Freezing bananas whole cause the peel to brown and the banana to be mushy. This method is excellent for freezing bananas for banana bread or other baked goods!
How to Freeze Lemons
Freezing lemons are different from any other fruit. To enjoy fresh lemon flavor year-round, juice a lemon and/or zest it and freeze them in bags with the air squeezed out.
How to Freeze Avocado
Finding the perfect avocado is hard—once you do, stock up on them and freeze them!
- To freeze the avocado, slice it in half, remove the pit, and cut the flesh into slices.
- Scoop out the flesh and leave the skin behind.
- Then flash freeze the avocado in a single layer on a baking sheet.
- Once frozen, bag it up.
What can you Make with Frozen Avocado?
Suppose you have visions of perfect guacamole and avocado toast made from your frozen avocado. In that case, you may be slightly disappointed. There is no substitute for fresh avocado for fresh guac and toast. However, frozen avocado is fantastic in smoothies—it adds a creamy texture and healthy fat to your morning shake.
How to Freeze Tomatoes
Yes, you can freeze tomato fruit, but there are a few caveats before you get too excited. Frozen tomatoes keep their flavor, but because they are filled with water, they do not keep their structure. Be warned that frozen tomatoes are great for soups and sauces, not for thawing and tossing on a salad or sandwich for a crisp texture.
- To freeze tomatoes, dip them in boiling water with a slotted spoon for 60-90 seconds and then immediately into ice water. The skin will come off. At this point, you can freeze whole on a sheet, particularly for smaller tomatoes. Larger ones must be cored with the stems removed to maximize storage space. Keep the juices that come out—
- Scoop it all into freezer bags and get as much air out as possible.
- Store flat and use for up to 18 months.

How to Freeze Vegetables
With vegetables, your newfound blanch knowledge will undoubtedly come in handy. Here is how to freeze, blanch and enjoy the best cooked and raw vegetables.
The University of Georgia Extension has a great printable with specific freezing instructions for many more veggies that you don’t see in this article.
How to Freeze Corn
Corn on the cob requires blanching. For every pound of corn, you’ll want to use about a gallon of water to cover the entire ear.
- Place the ears in after the water comes to a boil. Smaller ears of corn will need to be in the pot for about 5 minutes, and more oversized ears may need to be boiled for up to 9 minutes.
- Once the boiling is done, scoop out the corn and place it in the ice water for the same amount of time they were blanched.
- Then, drain all the water, dry off the ears, and package in a freezer bag with all the air pushed out. Don’t let the ears touch each other until they are completely frozen because if the corn on the cob ears touch each other before they are frozen, they may stick together and become difficult to separate.
How to Freeze Green Beans
Freezing green beans will result in a flavorless mush if not done correctly. However, freezing green beans with these tips can give you the best beans you have ever had!
- Cut off the ends and then blanch.
- Line them on paper towels and give them about 20 minutes to dry before sticking them in the freezer on a baking tray without touching each other.
- Then, add to a freezer bag, squeeze out all the air, and freeze.
How to Freeze Zucchini and Potatoes
Both zucchini and potatoes need to be shredded before freezing.
- Wash and shred the potatoes and zucchini: Wash the vegetables and use a grater or food processor to shred them into small pieces.
- Blanch the shredded vegetables: Bring a large pot of water to a boil and add the shredded potatoes and zucchini. Blanch them for 1-2 minutes, then remove them from the water and transfer them to a bowl of ice water to stop the cooking process.
- Drain and pat dry: Drain the blanched potatoes and zucchini and pat them dry with a clean kitchen towel or paper towels.
- Portion and freeze: Divide the shredded vegetables into portions that you will use for future recipes. You can do this by measuring out the desired amount of vegetables into freezer bags or airtight containers. Make sure to label the bags with the date and contents.
- Store in the freezer: Place the portions of shredded vegetables in the freezer and store for up to 6 months.
How to Freeze Broccoli
- Wash and then blanch broccoli florets and stems in boiling water for 3 minutes.
- Place them in ice water for the same time they were heated, then let them dry completely.
- One fun trick is to use a salad spinner to wick off the moisture, then place the florets on paper towels until completely dry.
- Freeze by putting them on a parchment paper lined baking sheet and then transfer to a freezer-safe bag, removing as much air as possible.
- To serve, steam/boil for a minute to a half, or use the broccoli in soups and pasta recipes.
How to Freeze Carrots
It is essential for this vegetable to be frozen and peak ripeness, or even while it’s a little bit on the green side—older carrots will not have the taste or flavor you want.
- Wash and peel your carrots.
- You can blanch whole carrots for 5 minutes or cut them into slices or strips and boil for 2 minutes.
- Place the carrots in ice water until they are chilled.
- Let them dry on a towel or paper towel before placing them in the freezer.
How to Freeze Greens such as Spinach, Kale, Swiss Chard, Collard Greens, Mustard Greens, and even Beet Greens
When blanching and freezing greens, removing as much excess moisture as possible before freezing is essential to prevent freezer burn or ice crystals from forming.
Blanched greens are best used in soups, smoothies, stews, and sauté
- Wash the greens: Wash the leaves thoroughly under running water to remove dirt or debris.
- Blanch the greens: Bring a large pot of water to a boil and add the greens. Blanch the leaves for 1-2 minutes, remove them from the water, and transfer them to a bowl of ice water to stop cooking.
- Drain and squeeze out excess water: Drain the blanched spinach leaves and squeeze out any excess water. You can use a clean kitchen towel or paper towels to blot the leaves and remove as much moisture as possible.
- Portion and freeze: Divide the greens into portions you will use for future recipes. You can measure the desired greens in freezer bags or airtight containers. Make sure to label the bags with the date and contents.
- Store in the freezer: Place the portions of greens in the freezer and store them for up to 6 months.
Now that you know how to blanch and freeze fruits and vegetables, you are ready to enjoy the bounty of each season year-round. Enjoy!
You can use your frozen veggies and fruit instead of fresh in many recipes. Especially when those frozen veggies and fruit were super fresh when frozen. I love using frozen fruit for pies, frozen veggies for soups, and tater tot casserole.
Additional Resources:
- The University of Georgia Extension has a great printable with specific freezing instructions for many more veggies that you don’t see in this article.
- The National Center for Home Food Preservation has a handy chart for blanching times of various produce.
- Beyond what you find here (which is a lot!) about freezing fruit, Food Network has more tips and info if you need more.
- NellieBellie.com has a printable resource, great for taping to your cupboard door! It can be found in the resource library.
Products for freezing fruits and veggies like a pro:
Moisture-proof, heavy-duty freezer bags (get the brand name for this!)
REUSABLE Freezer Bags (game-changer!)
Vaccuum sealer
Baggie holders (seriously…these are awesome!)


